> ## Documentation Index
> Fetch the complete documentation index at: https://docs.cloud.coinbase.com/llms.txt
> Use this file to discover all available pages before exploring further.
# Quickstart
> Set up your Sandbox API keys, create a funded account, and send a test transaction
**Base API URL:** `https://sandbox.cdp.coinbase.com`
## 1. Create Sandbox API keys
Navigate to Sandbox mode in the CDP Portal
* Go to **Settings**
* Click **Create secret API Key**
* Enter an **API key nickname**
* **Download the API key JSON file** and save it securely
## 2. Install CDP CLI
[CDP CLI](/get-started/build-with-ai/cdp-for-agents) is a command-line tool that handles JWT authentication automatically — configure your API key once and it takes care of signing every request for you.
```bash theme={null}
npm install -g @coinbase/cdp-cli
cdp --version
```
Node.js 22 or later is required.
**Configure your API key:**
```bash theme={null}
cdp env sandbox --key-file ~/Downloads/cdp_api_key.json
```
Never commit API keys to version control. Store them securely in environment variables or a secrets manager. Do not use real personal data in the Sandbox environment.
## 3. Create and fund an account through the portal
In Sandbox mode, navigate to the Accounts tab
Name the account (e.g., "My Test Account")
Add balances in different assets to your account. Currently we support USD, USDC, USDT (e.g., set USD to \$1000)
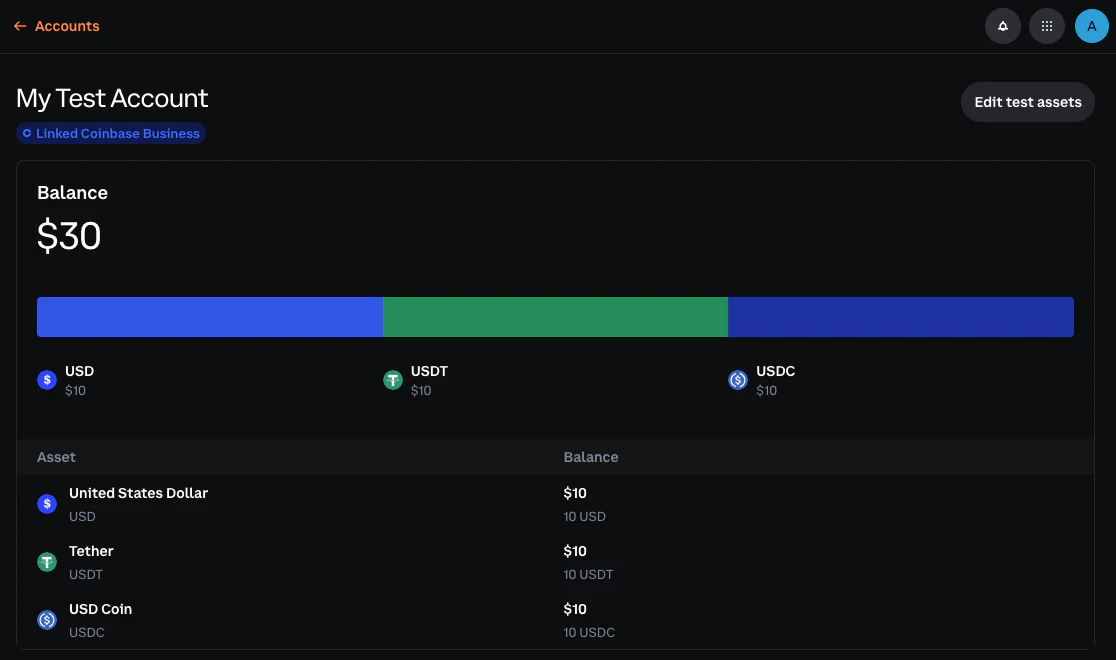 All balances are simulated within the Sandbox environment — no blockchain or testnet connectivity. You cannot fund accounts by sending real or testnet crypto.
## 4. Verify balance(s)
Run the following to verify your account balance:
```bash theme={null}
cdp accounts balance
```
List all your account IDs:
```bash theme={null}
cdp accounts list
```
## 5. Alternative: Test with Postman
Prefer a GUI? See the [Postman guide](/get-started/sandbox/postman) for setup instructions.
## Next steps
Now that you're set up, explore the resource guides to test specific features:
Test fiat withdrawal flows
Create addresses and simulate incoming deposits
Create and manage test accounts
Test transfers to crypto addresses and emails
## Transitioning to Live
When you're ready to move from Sandbox to Live:
* **Complete integration testing**: Ensure all features work correctly in Sandbox
* **Create Live API keys**: Generate Live credentials in the CDP Portal
* **Update configuration**: Switch from `sandbox.cdp.coinbase.com` to `api.cdp.coinbase.com`
* **Start with small transactions**: Begin with small test transactions to verify everything works
* **Set up monitoring**: Configure alerting for failed transactions and API errors
All balances are simulated within the Sandbox environment — no blockchain or testnet connectivity. You cannot fund accounts by sending real or testnet crypto.
## 4. Verify balance(s)
Run the following to verify your account balance:
```bash theme={null}
cdp accounts balance
```
List all your account IDs:
```bash theme={null}
cdp accounts list
```
## 5. Alternative: Test with Postman
Prefer a GUI? See the [Postman guide](/get-started/sandbox/postman) for setup instructions.
## Next steps
Now that you're set up, explore the resource guides to test specific features:
Test fiat withdrawal flows
Create addresses and simulate incoming deposits
Create and manage test accounts
Test transfers to crypto addresses and emails
## Transitioning to Live
When you're ready to move from Sandbox to Live:
* **Complete integration testing**: Ensure all features work correctly in Sandbox
* **Create Live API keys**: Generate Live credentials in the CDP Portal
* **Update configuration**: Switch from `sandbox.cdp.coinbase.com` to `api.cdp.coinbase.com`
* **Start with small transactions**: Begin with small test transactions to verify everything works
* **Set up monitoring**: Configure alerting for failed transactions and API errors